Blend Mode Playground
A major addition to QLab’s video capabilities is the introduction of blend modes. These allow Video, Camera, and Text cues to blend with other cues on lower layers on the same stage. A cue’s blend mode is selected in the Video FX tab of the inspector.

One of the challenges in using blend modes is that a many modes only come to life when used with specific types of footage. For instance, the divide mode, which causes dark pixels in the foreground image to brighten the background image, often results in an ugly, overly bright blend which is unlikely be particularly useful.
With the right footage, though, divide blends can produce unique and splendid results.
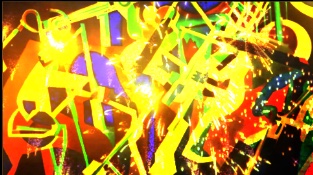
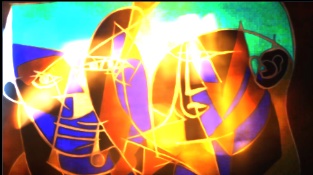
It can be very useful to see how all the possible modes will look when applied to a pair of images simultaneously. The video below shows a pair of images, a foreground abstract image of a jazz band and a background video of orange fireworks.These images give stunning results with all 22 color blend modes (with the unblended original images in the bottom right):
QLab’s blend modes are fully documented in the QLab 5 Manual here.
QLab has 23 blend modes, but the last of these, Source Atop Compositing, isn’t relevant to this tutorial. It is however a very useful blend mode and is explored in detail in the chapter entitled Wipes & Transitions Metal Edition.
Instructions for use
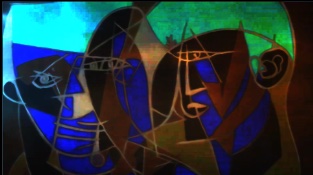
The Blend Mode Playground consists of a carefully curated set of seven still and seven moving images which can each be selected as the foreground or background image. The two selected images are used to create a 22-blend demo like the one shown above.
The images are arranged in a cart together with some other buttons for control:
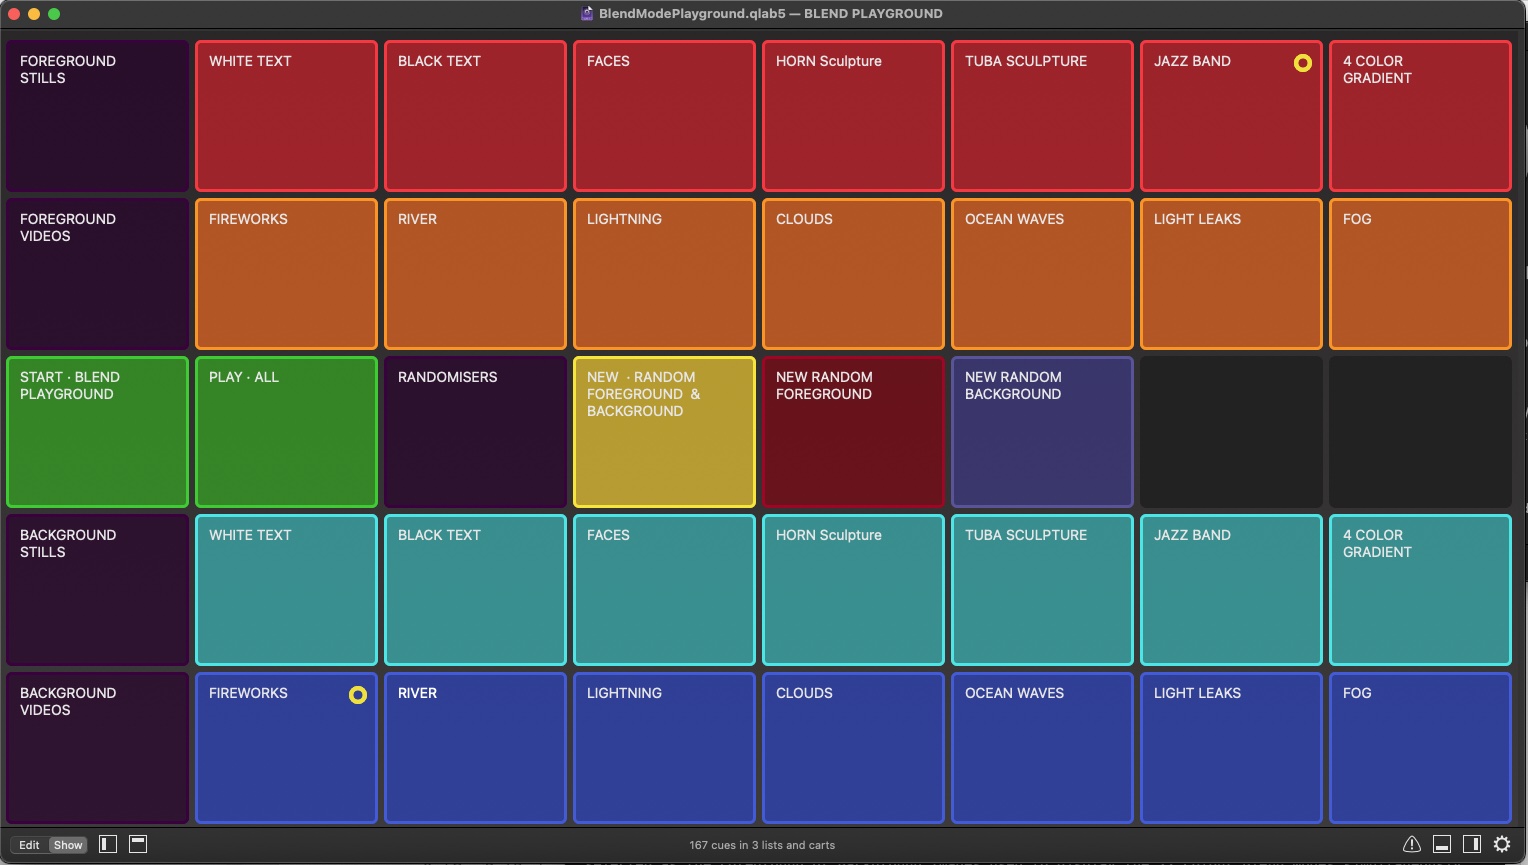
Running the green “Start” cue on the left will start the demo.
While the demo is running, the upper buttons can be used to select a foreground image, and the lower buttons can be used to select a background image.
There are three “randomizer” cues. “NEW RANDOM FOREGROUND AND BACKGROUND” will select a random pair of images. “NEW RANDOM FOREGROUND” selects a random foreground image only and leaves the background unchanged. “NEW RANDOM BACKGROUND” does the opposite; it changes only the background image.
“PLAY ALL” rotates through every possible combination of foreground and background images, changing every five seconds. It is stopped by running “START”, “NEW RANDOM FOREGROUND & BACKGROUND”, or stopping the workspace.
In addition to blending different images, it is also worth exploring the effect of each blend mode on identical foreground and background still images. Blends are a useful technique for brightening or darkening images as an alternative to using color adjustment video effects on a single image, as the results are often superior and quicker to achieve.
How It Works
The Workspace uses three stages:
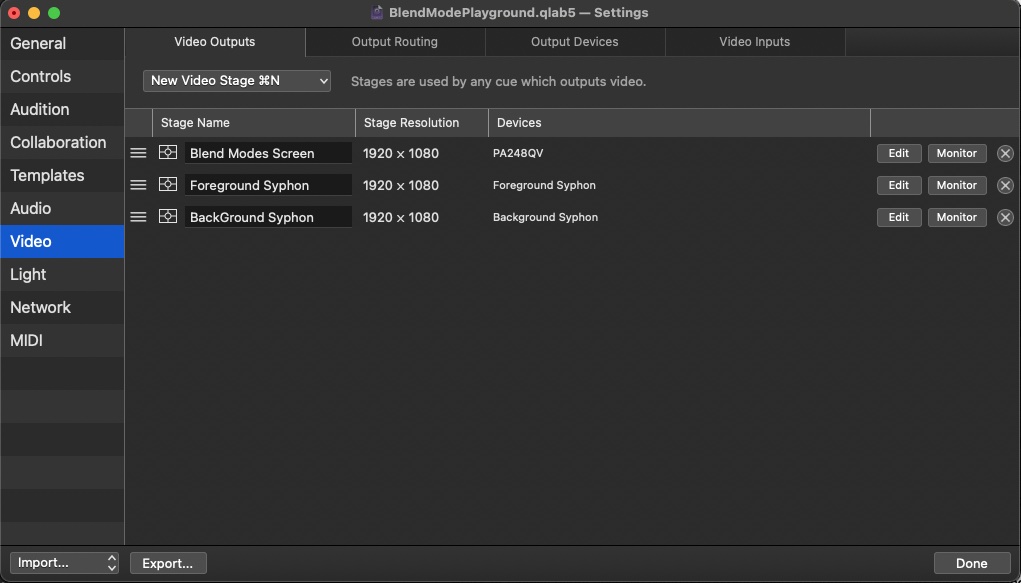
The stage named “Blend Modes Screen” is routed to the display where the end result is shown.
A stage named “Foreground Syphon” is the destination stage for the foreground image, and a stage named “Background Syphon” receives the background image. Both of these stages output only to Syphon.
A cue list named “Select Images” contains all the example images.
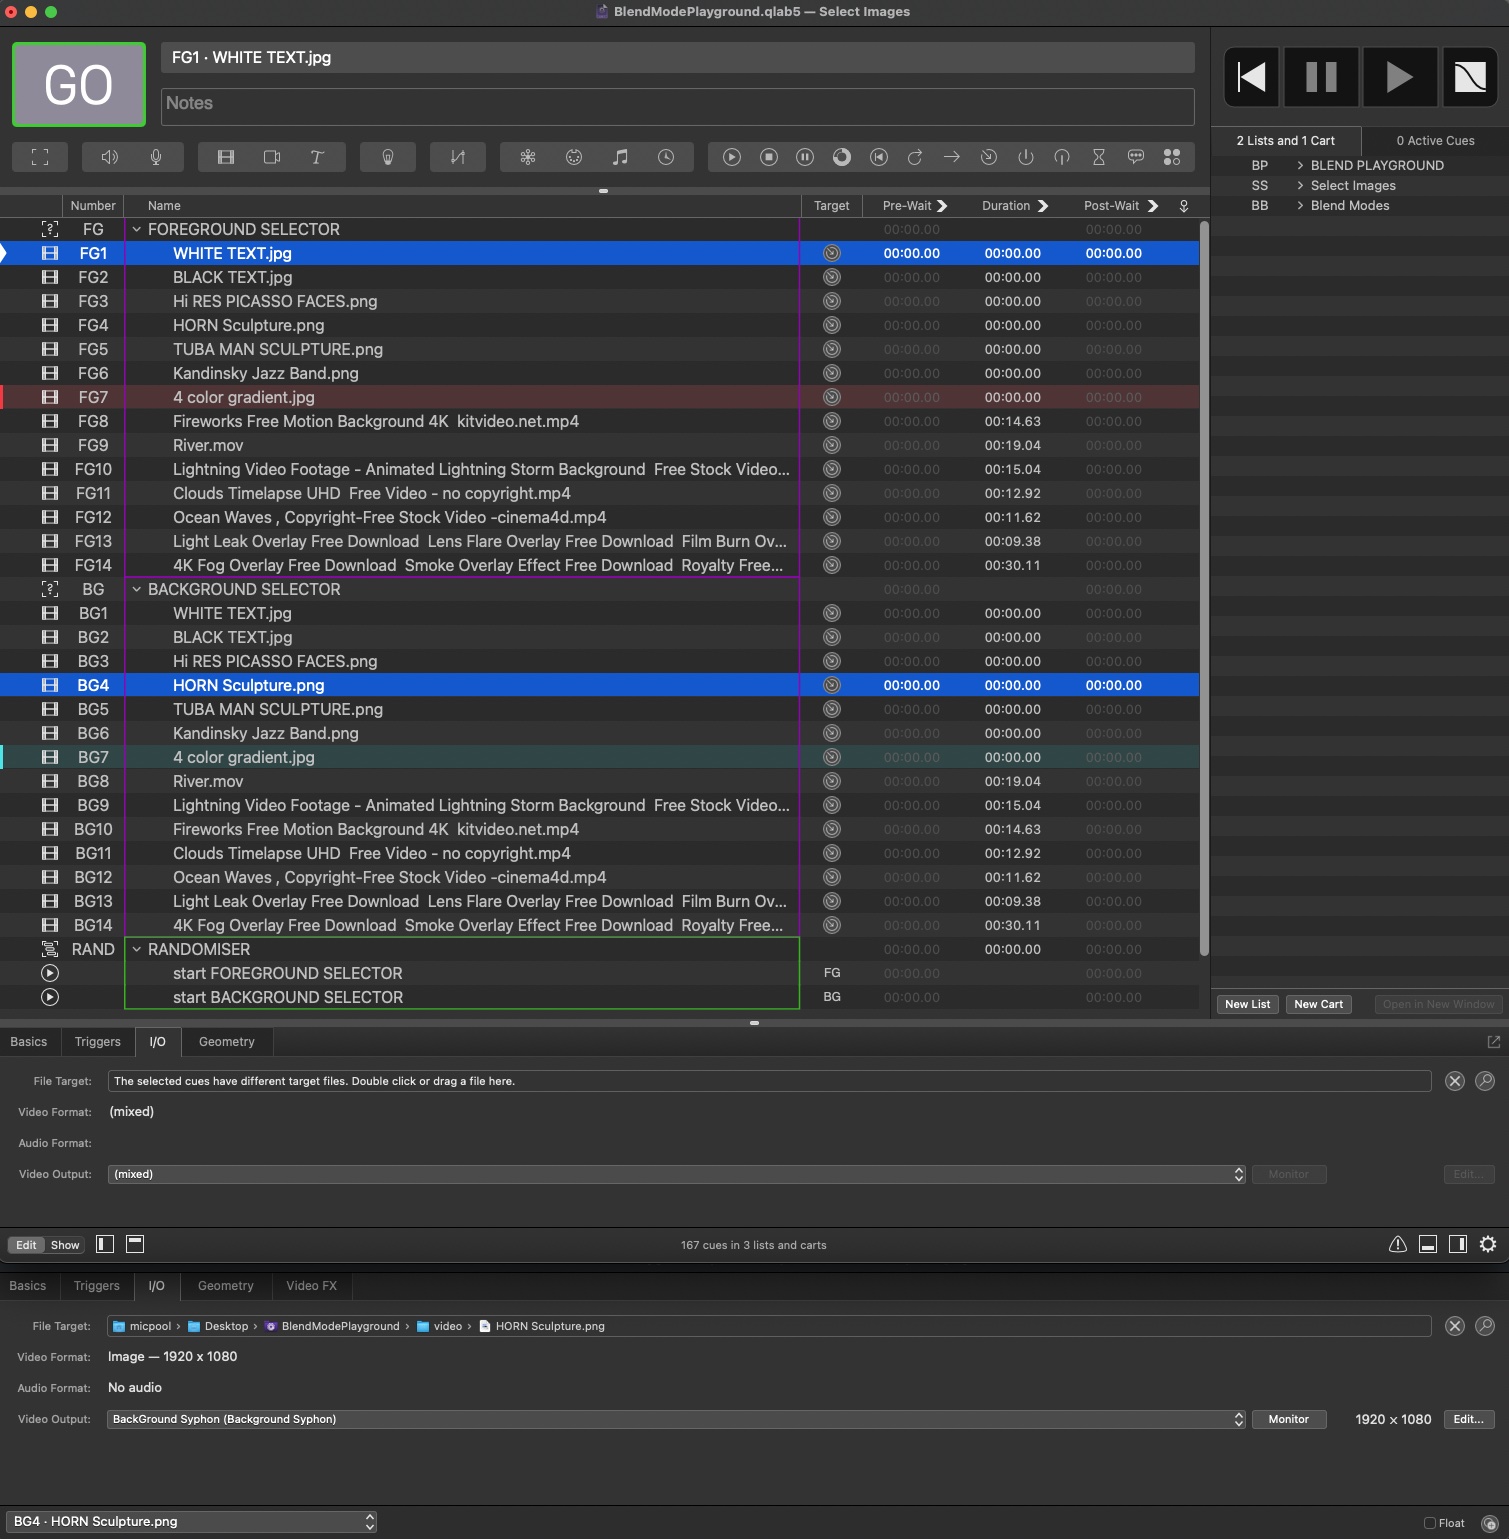
Each image appears twice, once as the file target of a Video cue inside a Start Random Group cue numbered “FG” where the cues are routed to the “Foreground Syphon” stage, and once as the file target of a Video cue in a Start Random Group cue numbered “BG” where the cues are routed to the “Background Syphon” stage.
All Video cues are set to Fade and stop peers over 0 seconds in the Triggers tab of the inspector, so that only one cue in each group can be playing at a time.

The cues in the cart start these cues, either directly, by starting the Group cues to select a random image, or by starting cue “RAND”, which contains Start cues that trigger both the foreground and background Start Random Group cues.
The “START”, “PLAY ALL”, and “NEW RANDOM FOREGROUND AND BACKGROUND” cart cues are Script cues with the following scripts:
--START
--stop all cues and start  output cues
tell application id "com.figure53.QLab.5" to tell front workspace
	stop cue "PLAY"
	stop cue "BB"
	stop cue "SS"
	start cue "OP"
end tell
--PLAY ALL
--Stop All Cues and play every combination of foreground and Background images
tell application id "com.figure53.QLab.5" to tell front workspace
stop cue "BB"
stop cue "SS"
start cue "OP"
repeat with FG from 1 to 14
start cue ("FG" & (FG as text))
repeat with BG from 3 to 14
start cue ("BG" & (BG as text))
delay 5
end repeat
repeat with BG from 1 to 2
start cue ("BG" & (BG as text))
delay 5
end repeat
end repeat
end tell--NEW RANDOM
tell application id "com.figure53.QLab.5" to tell front workspace
stop cue "PLAY"
start cue "RAND"
end tellA cue list named “Blend Modes” contains a Timeline Group cue numbered “OP”, which contains 22 Timeline Group cues, one for each blend mode, as well as Group Cues for the unblended foreground and background images:
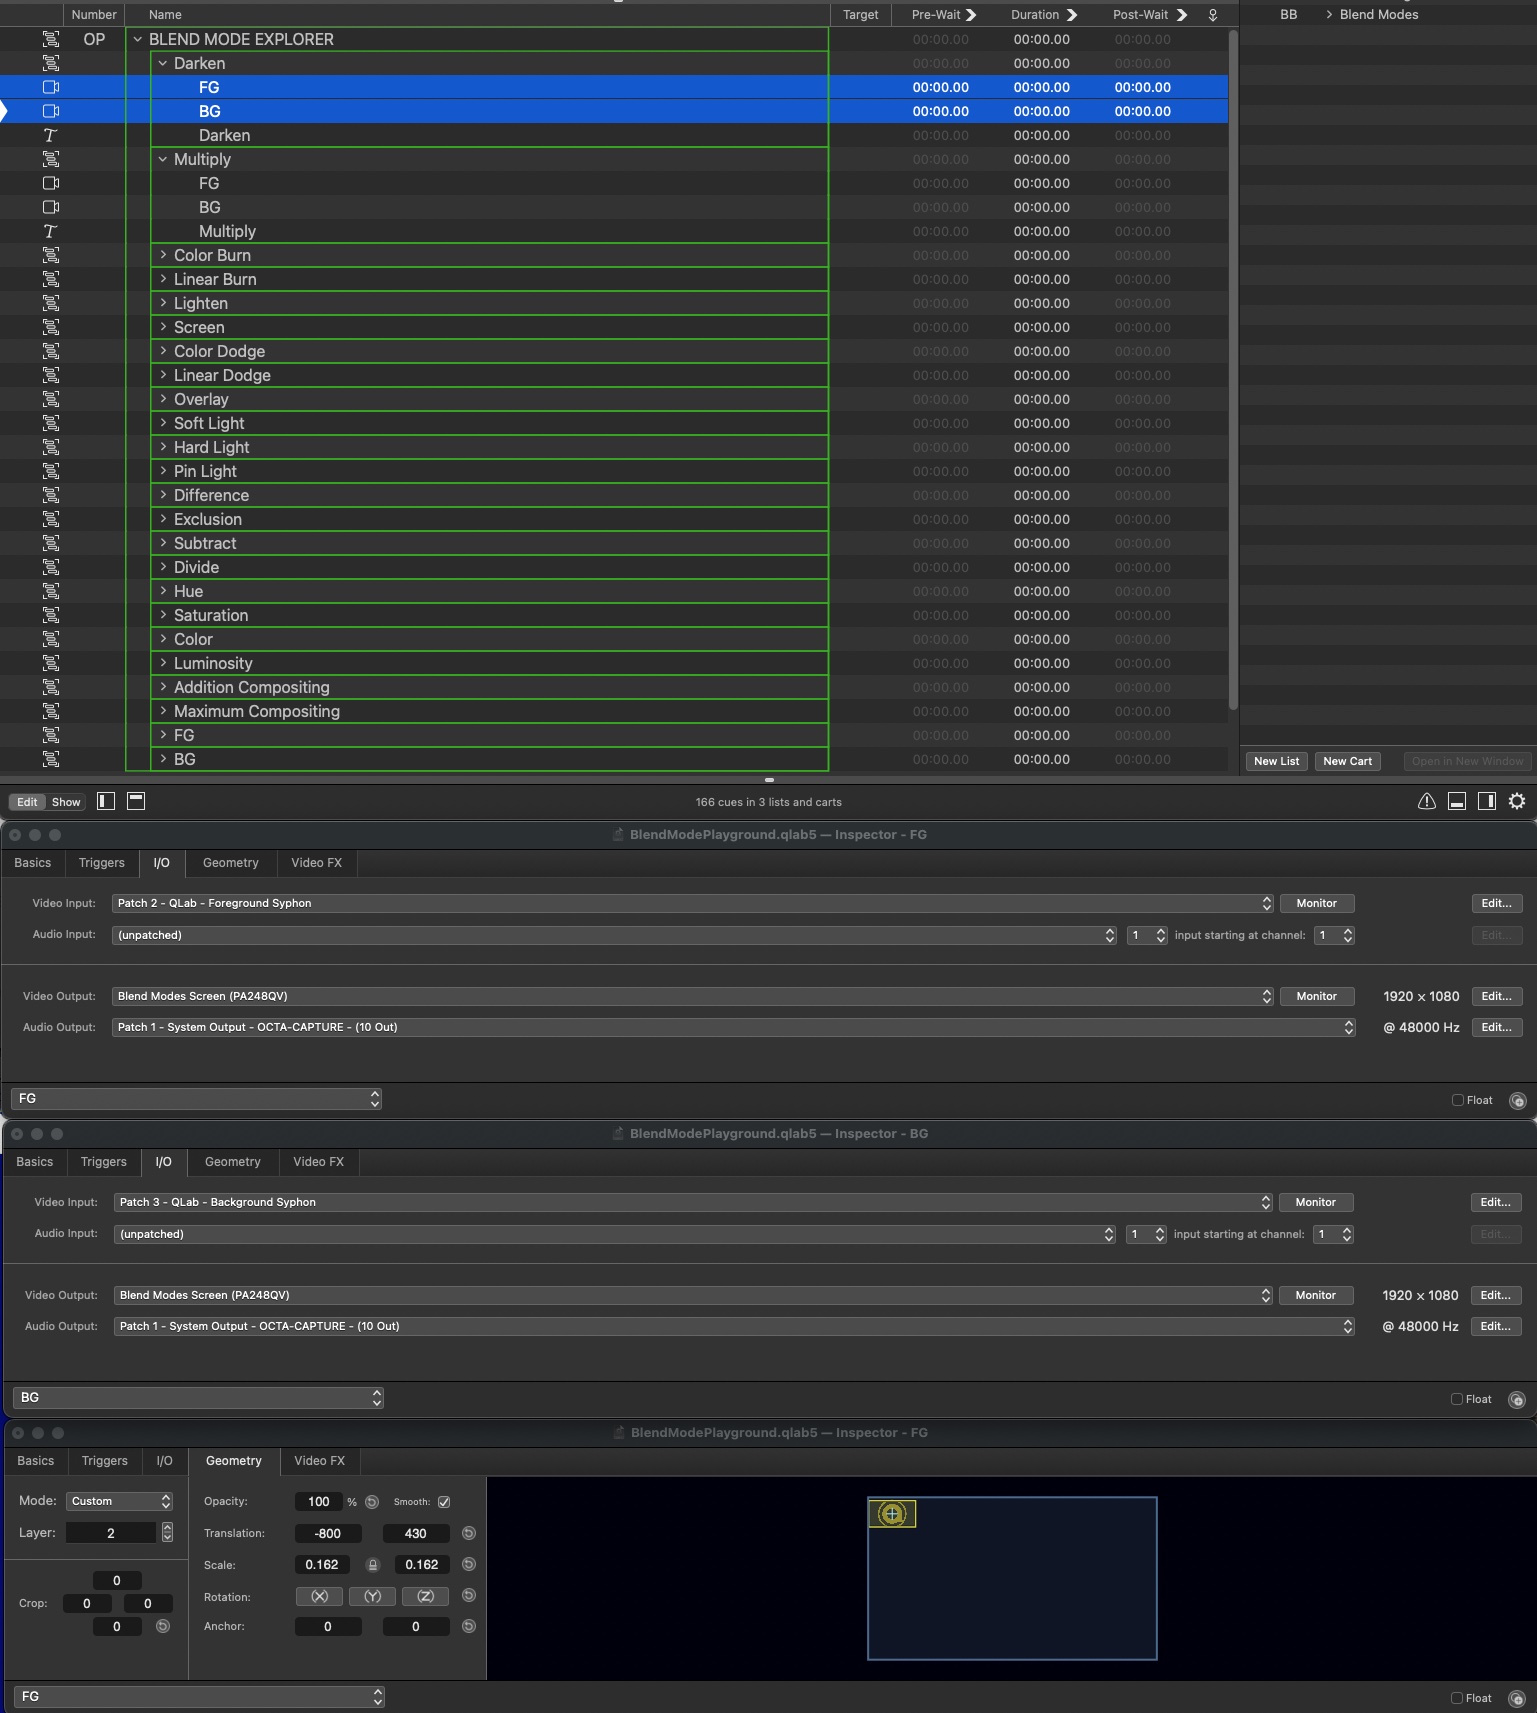
Each of these Group cues contain:
- A Camera cue for the foreground image which uses the “Foreground Syphon” stage as its input patch and which is set to layer 2 in the Geometry tab.
- A Camera cue for the background image which uses the “Background Syphon” stage as its input patch and which is set to layer 1 in the Geometry tab.
- A Text cue which displays the name of the blend mode set to layer 3 in the Geometry tab.
All these Camera cues are scaled to 0.162, and their translations are set to position each image pair and their label to the correct position in a grid that allows all blend modes to be displayed simultaneously.
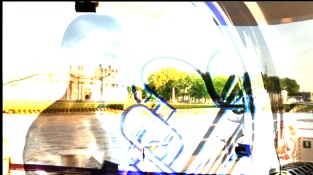
Still images generated using Stable Diffusion.
River video by Mic Pool. All rights reserved.
All other videos YouTube marked as licensed under CC BY 3.0 LEGAL CODE Attribution 3.0 Un-ported:
Chapter image by Mic Pool.